
We will make new Renko charts with Renko trading indicators in NinjaTrader. You will find a link to a video at the bottom of this page that will cover making these charts and installing the indicators.
But to begin, here are the basic steps for making your charts:
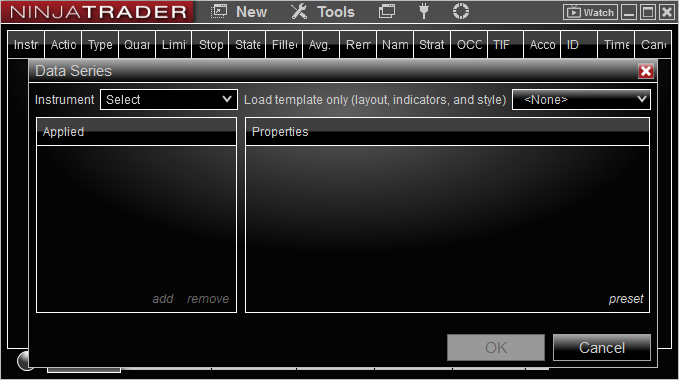
- Go to your NinjaTrader control panel and click new, then click chart. This will bring up the Data Series window.
- Now click select next to Instrument to find the contract or stock you want for your chart. We are going to make a chart for the British Pound future contract.
- Clicking select brings up a list of charts you have made. But since this is a new or first-time chart, scroll down to futures.
- This will open up a new list. You will select 6B 03-23 [or the current front-month contract].
Selecting Chart Properties
We will now select the properties for the British Pound and then can install the Renko trading indicators on the new chart:
- Type: Renko
- Brick size: 3
- Days to load: 3 days is the default – change that to 30 or more
If you scroll down further, you will have style and color options. The defaults are fine and include Lime Green for up bricks and Red for down bricks.
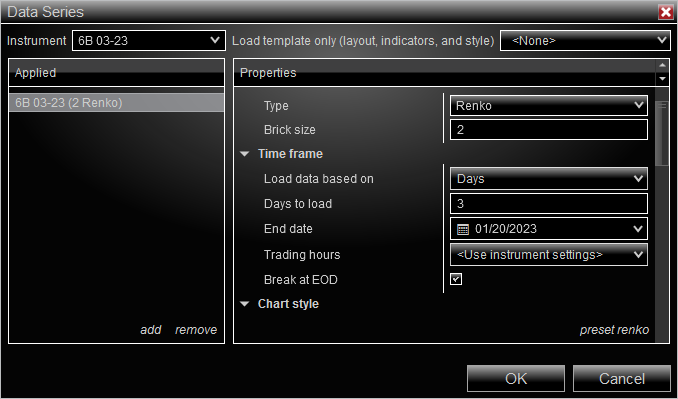
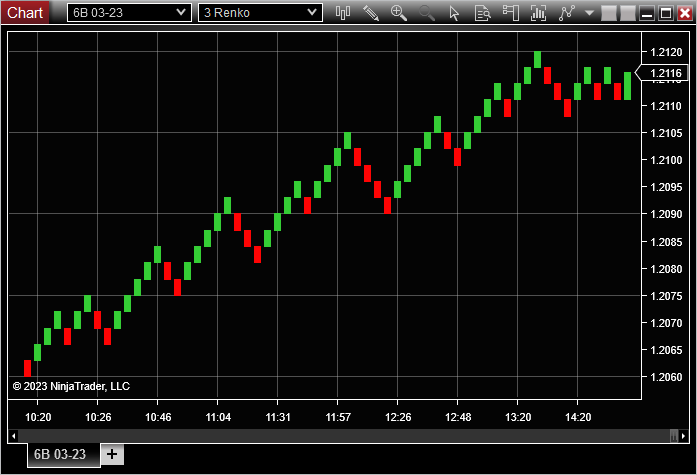
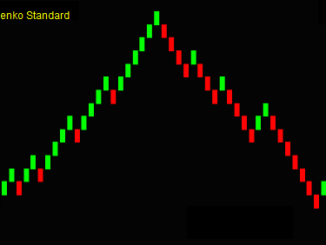
Click ok in the Data Series window after selecting the properties. This is what your new 3 Renko British Pound chart will look like. You can now put your Renko trading indicators on the chart.
Installing Renko Chart Trading Indicators
Before you can put your Renko chart trading indicators on your chart, you must install them into the NinjaTrader program. You will receive a download link for the indicators when you join the Renko trading group.
Watch this video to see the Renko Chart Trading Indicators Installed
You have installed the indicators. To put them on your Renko charts, do the following:
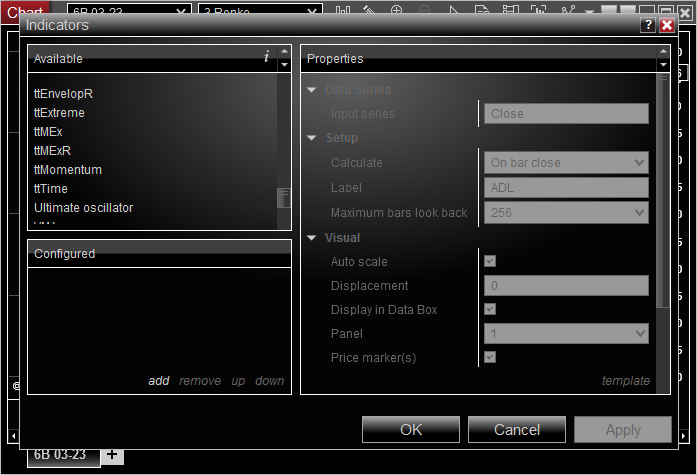
- Go to your new chart and click the indicators icon above the chart
- You will go to a new Indicators window and see a list of all available indicators
- Highlight the indicators and click add in the Configured window
- You will add these indicators to your chart: ttEnvelopeR ttMExR ttExtreme
- Each time you add an indicator, you will see its Properties in the window to the right
- Of these 3 indicators, ttEnvelopeR will have properties changed now
- Scroll down to Parameters and find Lower Band and Upper Band
- For a 3 Renko British Pound chart, you will change the 1.0 default to .06
Changing Chart Properties
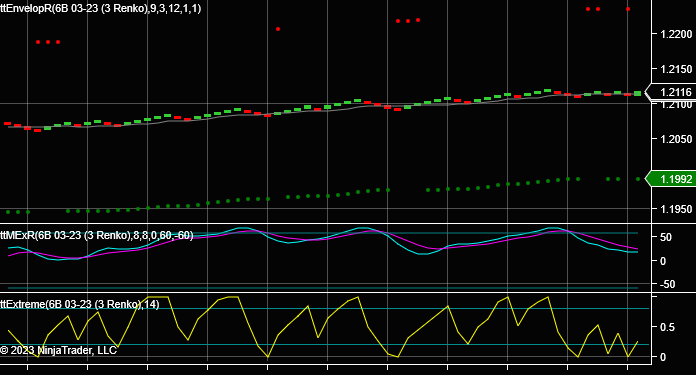
Your new NinjaTrader chart with Rento trading indicators will look like this. I know that you can’t trade a chart that looks like this. So, there are chart properties to change:
- The chart shows ttEnvelopeR without changing the band parameters as done above. This chart shows the band default unchanged.
- Other changes to make:
- Remove the indicator labels
- Remove the grid lines
- Place both momentum indicators into the same window
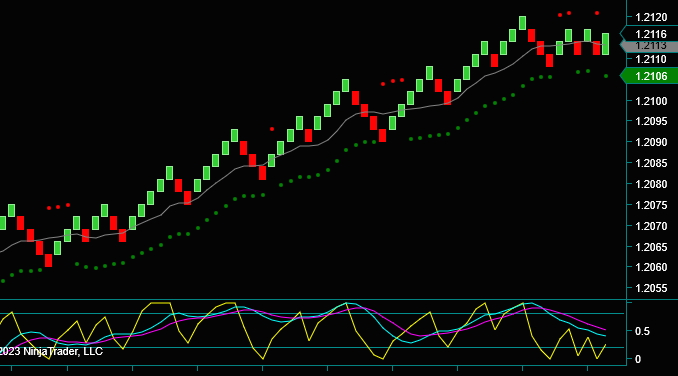
The second chart below shows the new chart with the properties changed.
I am not going to list the changes to make; it is easier to watch the video. The video will also show how to make a template for your new Renko charts.
Be the first to comment